


PASSION PROJECT
CHALLENGE
I wanted to continue my learning experience with Lens Studio, and AR, so my next challenge for myself was to create a 3D lens. I wanted to take one of my items from my first project Let’s Get Dressed and turn it into 3D.
ORTHOGRAPHIC

Using the sunglasses AI file I had created for the 2D project, I started by creating an orthographic of the sunglasses in Adobe Illustrator.
3D Model


I then imported the orthographic into Blender as a plane, duplicated twice, cut, and removed the planes not needed. I was ready to start building the my 3D model.


To create the lenses, I used a sphere to align the cursor and cut away pieces.
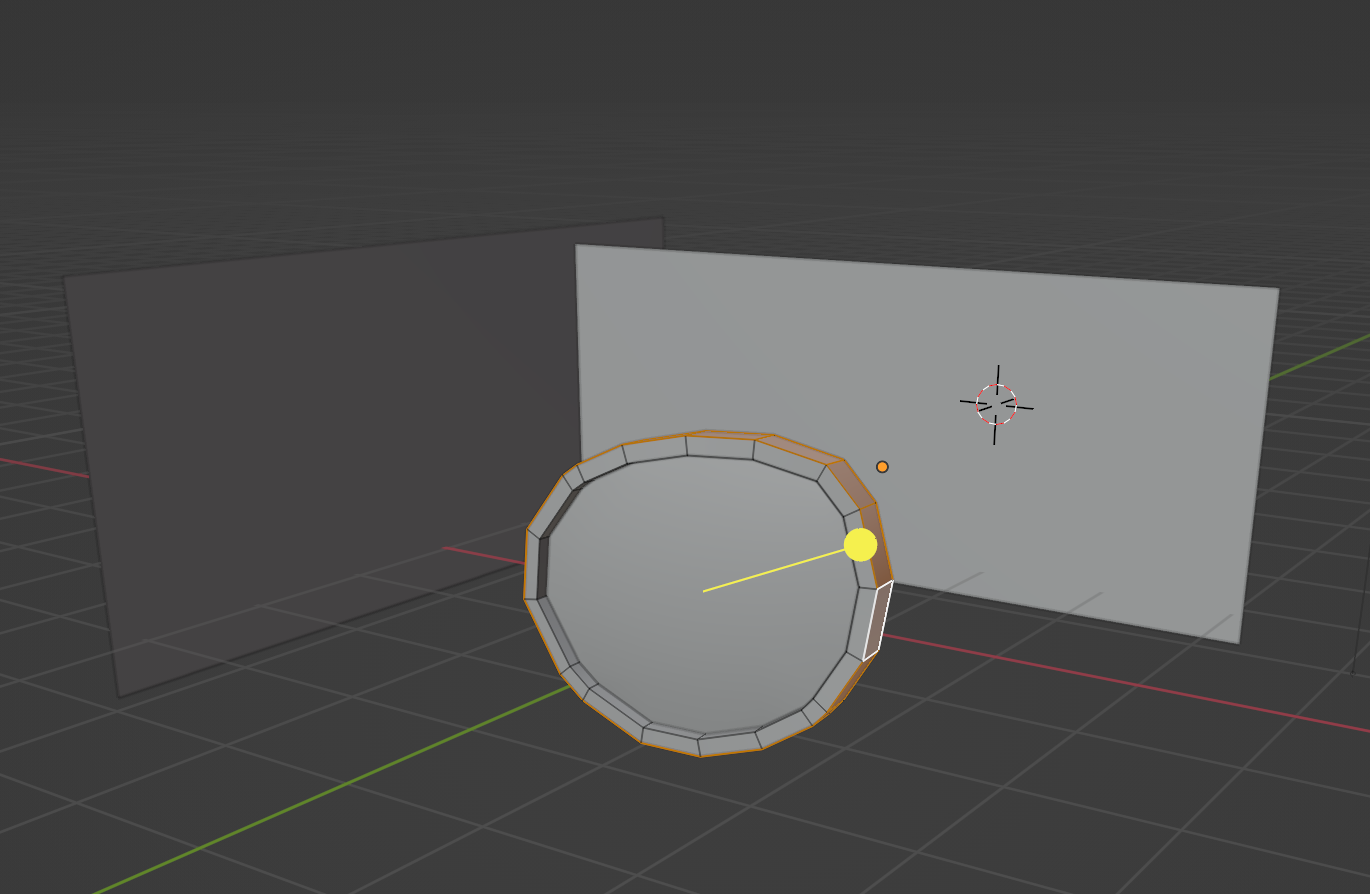


As the lens was made, selecting the perimeter of faces then extruding, allowed me to form the next part, the frame. I continued to edit the frame with the vertices, edges, and faces.


Once the first frame was built, by using the mirror modifier, I was able to create the rest of the frame. The shear tool helped with adjusting the angling of the lens to align inside the frame.
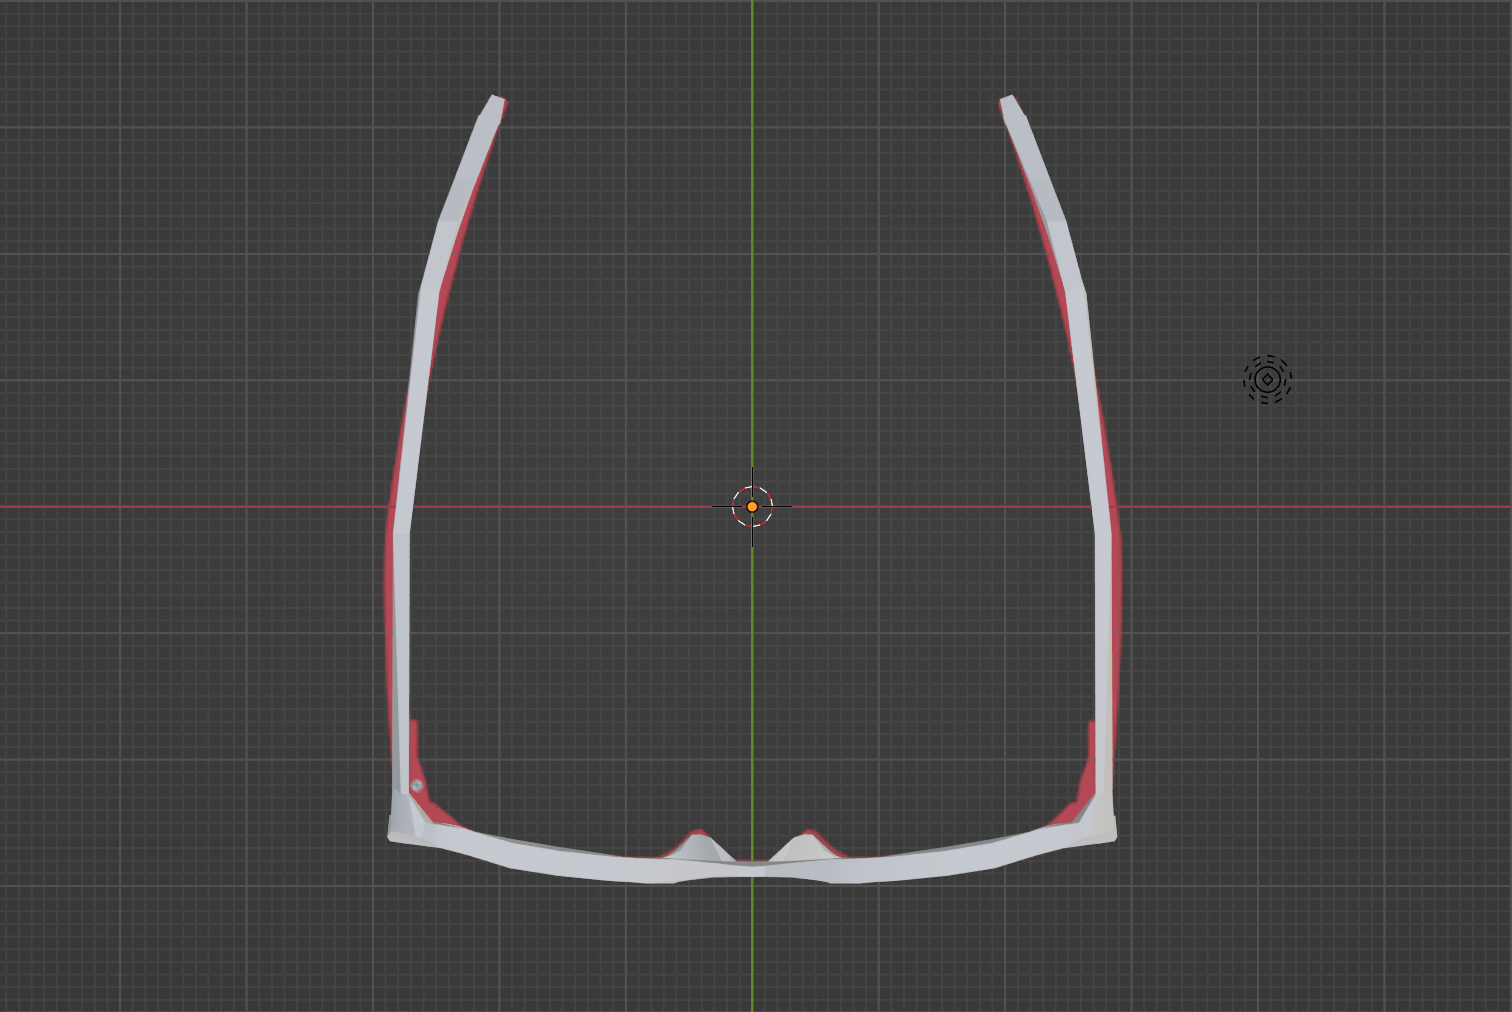
After the frame was complete, I built the handles using the same procedures as the prior parts.
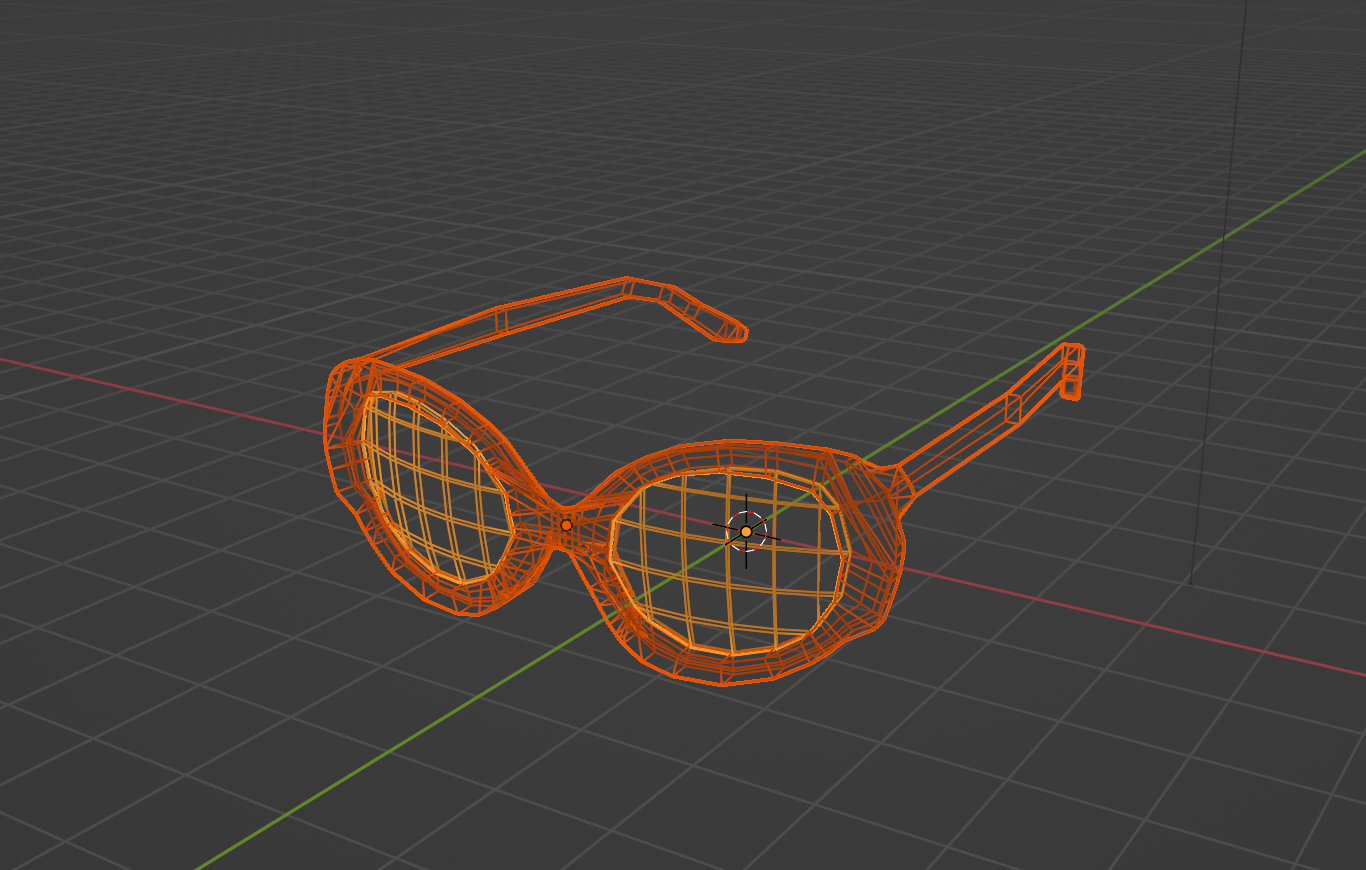

The glasses were done, materials were applied, and exported as a FBX file.
LENS STUDIO

I imported the FBX file, adjusted the sunglasses to fit, and edited the materials to create a metallic look.
FINAL LENS
Takeaways + Next Steps
This project was good practice with 3D modeling in Blender and expanding my experience with Lens Studio. I was able to successfully publish my second 3D lens.
For the next steps, I would like to add some more edits to my 3D model, I noticed a small gap between the lens and the frame. I would like to correct this in Blender and update my lens. To make the experience more interactive, I would like to use the Configuration Template in Lens studio and apply it to this project.
